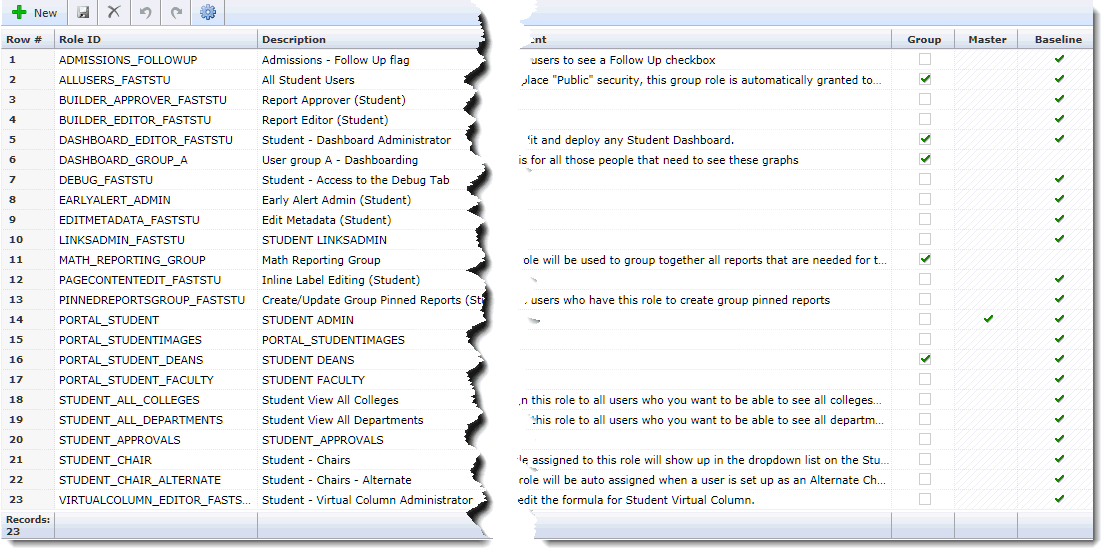
You can create a group role so users can restrict who accesses their pinned (saved) reports and graphs. After you assign the group role to users, you can share Pinned Reports and/or Dashboards with the various groups on campus.
On the Administration menu, select Access, then click Define Roles.

Click + New to add a new role.
In the Role ID box, type the new role ID in capitals, using underscores for spaces, for example FAST_TRAINER.
The Role ID is used by the system and must be unique. The Role ID is always referenced in the online help, never the Description.
In the Description Lang 1 box, type the name of the role, for example Budget Trainer. If your institution is multi-lingual, you can type the translated role names in Description Lang 2.
In the Comment Lang 1 box, type any comments. If your institution is multi-lingual, you can type the translated comments in Comments Lang 2.
If the role will be used as a Group Role to limit access to a pinned (saved) report, select the Group check box.
Click save  .
The role is added to the list.
Locate the Existing Role that you wish to make part of a Group Role from the list of available Roles.
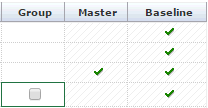
Place your cursor in the Group box field in line with that role; a small (empty) check box will appear in the data grid cell:

Check the box to create a Group Role based on this User Role.
Save your Changes  .
.
On the Administration menu, select Access then click User/Role Assignment.
The first page is a standard Filter Options Page to query by Role and/or by User.

Type the ID or search for a User.
Click Execute Report.
If the user has no current roles in the application, a blank Data Entry Grid page will display.
Click  to create a new line entry.

You can search for or enter the External ID. The name will auto-fill. As you TAB through the fields, the next field will display.
You can then select a Role from the available list in the drop-down menu:

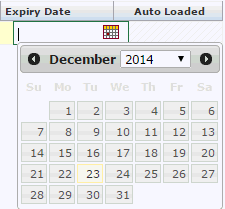
You can then (optional) choose to include an Expiry Date for this Role.

You can then either TAB to
the next row to add another line entry (another Role to this User)
or if complete, click Save  .
.