Selecting Rows on a Report
It is often useful to select and isolate rows on your reporting page to review the data clearly, and on larger reports, this is especially helpful to not lose your place on the reporting page as you scroll through the details from left to right. On Data Entry Pages, this function can also serve to delete one or more rows quickly and easily.
To Isolate a Row on a Standard Reporting Page
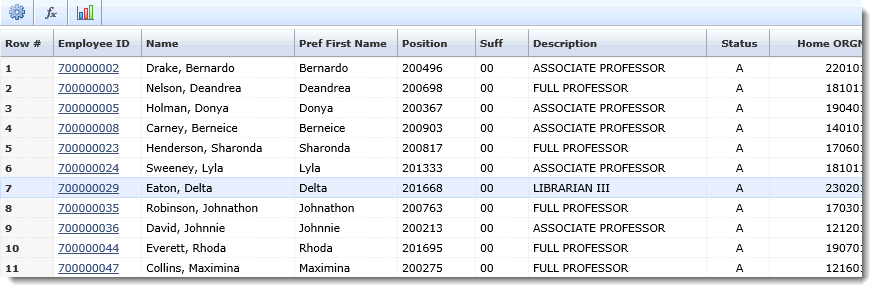
Once a report is executed, you will see the report results are displayed in a grid. The first column on the left-hand side of the page displays the Row # and is a numeric field.
To isolate a row on a standard reporting page:
-
Click the Row number; this will highlight the entire row for ease of visibility.
-
Double-click in any cell in the row.
How to de-select the highlighted row:
-
Click the Row number a second time; this will de-select the highlighted row.
-
Click on any other Row number to highlight the new row and drop the previous row.
-
Double-click in any cell of another row to highlight the new row and drop the previous row.
To Isolate a Row on a Data Entry Page
Data Entry pages behave similarly but with a few key exceptions. On data entry pages you can actually isolate (highlight) more than one row for ease of access to delete larger data sets at one time.
To Isolate one or more rows on a Data Entry Page:
-
Click the Row number; this will highlight the entire row.
-
Double-click on any cell in the datagrid; this will highlight the entire row.
-
Click the Row number, then, to select multiple rows to isolate and highlight, hold down your Ctrl Key and select the additional rows by clicking the additional row numbers.
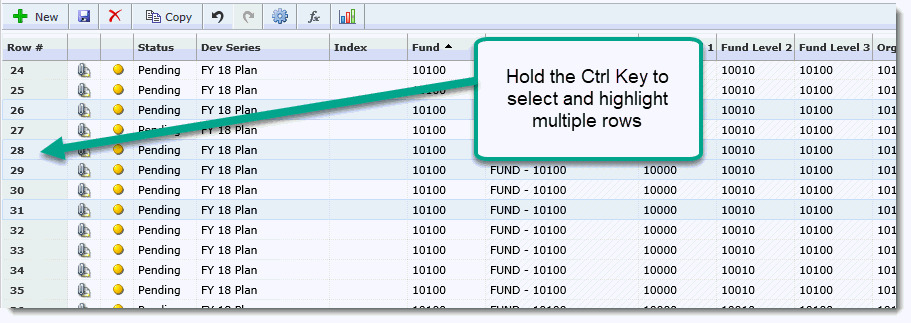
You will notice, once one or more rows are selected, that the Copy and Delete functions on the toolbar are now enabled. To delete all 5 rows that have been selected, simply click the Delete button, then click Save to commit your changes.
To undo your changes, click the undo button prior to saving.