Student Stop Outs
Student Stop Outs can be managed using the Student Retention Workflow and/or by navigating directly to the Student Stop Out data entry page.
This page is available under the Student Info Menu Header.
You can run the report directly or use the embedded workflow options from the General Info reporting page at the student record level. This option will allow you to quickly and easily open the Stop Out page for a specific student.
Once you locate the Student Stop Outs report (either directly or from the Student Retention Workflow), you have several options.
Options on the Stop Out Data Entry Page:
Review the current detail.
Add a new record by clicking the + New button on the Data Entry toolbar.
Add or edit the current Leave Reason Tags under Leave Reasons.
Include detail such as: Leave Date, Expected Return (if applicable), Transfer detail (if applicable).
If a Student who was initially placed on a Stop Out decides to stay, you can now utilize the Decided to Stay option and populate one or more Stay Reason Tags (optional).
Click Save to commit any changes.
To add or edit Leave or Stay Tags:
Once you save your initial entry, a Green + button will be enabled under the Leave Reasons and Stay Reasons Columns.
Student records that already contain tags will no longer have the green + sign in these fields. Rather, they will have one or more visual Tags that you can click on.
To add a Tag, click on the Green + button and a pop-up box will open. Use the drop-down arrow to select one or more Tags to add to the student record:

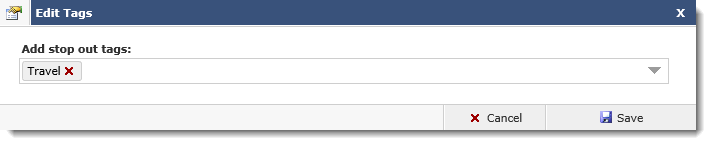
To add additional Tags to the same student record, simply click the current tag field and Edit Tags box will pop-up. You can then click the drop-down to select additional tags and/or create new Tags manually. Click Save to commit your changes.
To create a new Tag for the student record:
If a suitable Tag is not found in the drop-down list, users with access can also create their own. Start by clicking the drop-down to confirm that your preferred Tag is not on the list. Once confirmed, start typing the Tag that needs to be added to the student record in the text field. An indicator of "No records found" will appear:

FAST will automatically convert the text to a Tag:
If you would like to create the Tag and add it to the student record, click Save.
All Tags are managed at the Admin level using the Tag Maintenance Forms. These forms are available for Stop Outs and Reasons to Stay.