Data Grid Column Configuration
Managing your reporting pages can be done at the page level (referred to as report-level administration from the page level Administration Tab) or you can use the master Datagrid Admin page in cases where a more global view is helpful. If using the Administration tab, the page name will be selected for you, though this can be managed at the page level via Page Options
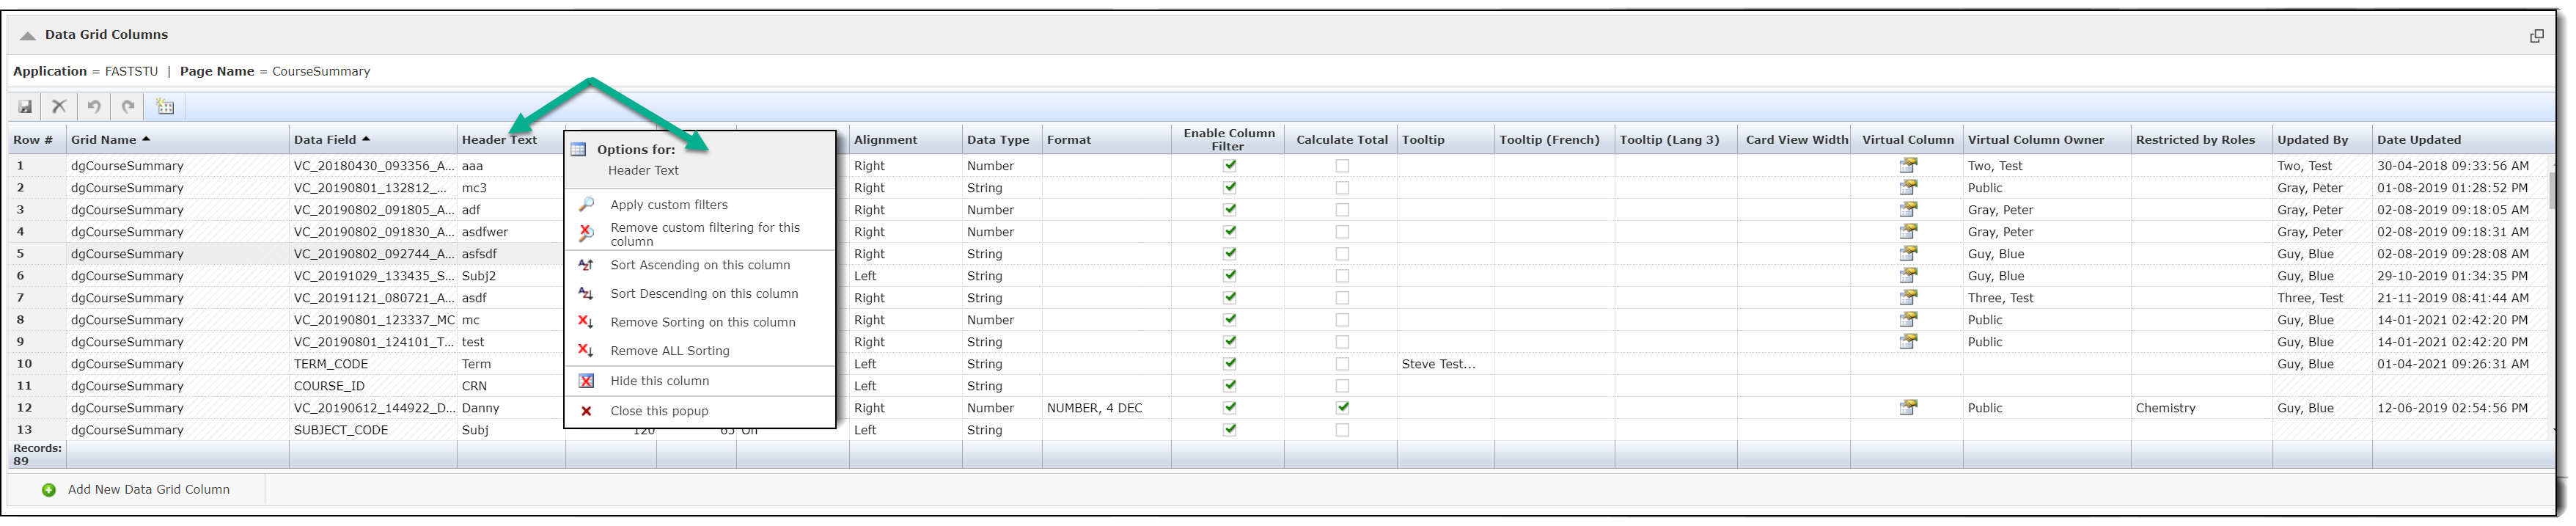
For each column in a datagrid, you can change the header name, define the sort order, change the alignment, adjust the width, enable the calculation of column totals, and change the column "state".
This page also allows you to view and delete any Public Virtual Columns that have been added to baseline FAST reports; this is the only page where those columns can be deleted once they are made public.
This page/function is especially useful and valuable is when more global changes are required to an application. If you need to change the column header for a particular value on every page that value appears, the global Datagrid Admin page is a much more efficient option than trying to locate it page by page. This allows you to key in a value to catch every instance of that value within the application.
These instructions relate exclusively to standard reporting pages; there is a separate master Admin page to manage all data entry pages.
To Change the Data Grid Settings:
Select the Data grid Columns tab. Each data grid column is on a single line and you can make changes to these fields.
If there are no data grid columns on the page, the dialog box opens and displays this message: "Data grid columns do not exist for this page."
Title: The column title, in the first language. In this example, English.
Title (Second Language): If a second language is required, specify the title in the second language. This column is not enabled at every institution.
Width: Column width in pixels.
Alignment: Left, right, or centre.
Format: Number, percent, currency, date, and so on.
Sort: The order of the columns from left to right.
Total: If the column was set up to calculate the total, the check box displays.
State: Use the drop-down to select one of the following:
ON = Columns shows on Advanced Options and is selected by default for the end users;
DE-SELECTED = Shows on Advanced Options for the end user but is de-selected (turned off) by default;
HIDDEN = Does not show on the Advanced Options Tab, and is hidden from all end users
Restricted Fields: Restrict a column in the report to a specific role.
Reset: The reset icon allows you to view and/or roll-back to the original (baseline) default settings for this column.
Virtual Columns: Click here to manage, disable or delete the Virtual Column. This is also a visual indicator that there is a Virtual Column on this reporting page.
Click Save and Apply Changes to complete. Remember that to view the effective changes on the report results, you need to re-execute the report.
After re-executing the report,
if you return to the Administration Tab, any global changes that have
been applied to the report will now be identified using the information
icon  .
.
If you hover your cursor over this icon, you will see the previous value
of the field that has been modified. Clicking the Reset Button  will revert this to the
previous setting.
will revert this to the
previous setting.