Assigning additional roles to users
You can view the list of names to see which roles have been assigned to a user and then assign additional roles to them. If this is the first time you are adding a role to a user, use these instructions.
To assign additional roles to a user:
Select Access, then click User/Role Assignment.
The first page is a standard Filter Options Page to query by Role and/or by User.

Type the ID or search for a User. Or leave blank to view all.
Click Execute Report.
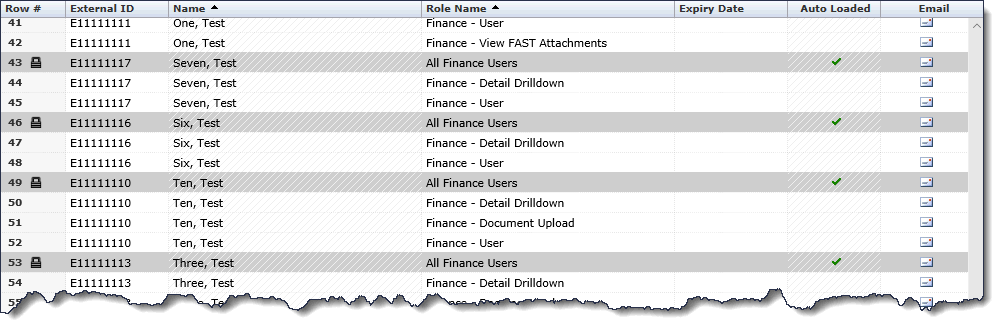
If the user has current roles in the application, the entries will be displayed in the Data Entry Grid page.

Click
 to create a new line entry;
the employee's External ID will auto-fill from the line above, allowing
you to add additional roles to the same employee ID without having
to re-key or search for the ID.
Select the Role you would like to add:

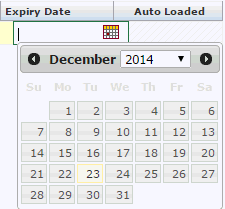
You can then (optional) choose to include an Expiry Date for this Role.

You can then either TAB to the next row to add another line entry (another Role to this User) or if complete, click Save
 .
.You can also use this page to send an email to an individual end user or to the group generated on the report using the Email Control buttons.
The check mark in the Auto Loaded column denotes the user/role combination has been set-up using the Auto-Load functionality. A rule has been defined to automatically grant role access to a specific set of users. These roles cannot be manually adjusted
