Adding roles to menus
Roles are assigned so users can access menus and menu options. When you add a role to a menu, it is not added to all menu options, you have to add them individually to each report under each menu option. The first time you add a role to a menu option, it is also added to the primary menu it is in; this is so the end users can see the menu under which the reports are located.
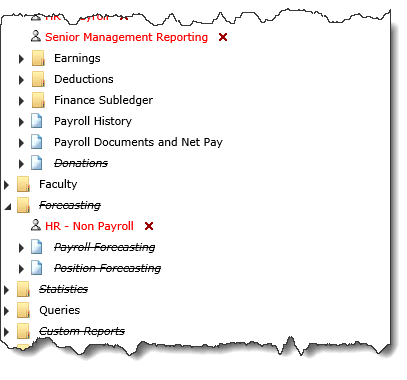
Some pages, tabbed sections, data entry functions and popups are not located on the application menus but still need to be accessible to the user. These items are listed in the Menu Access form with a gray italic font, so roles can be assigned to them. If roles are not assigned to these items, users will get a security error.
To add roles to menus:
Select the Administration menu, select Access, then select Menu Access.
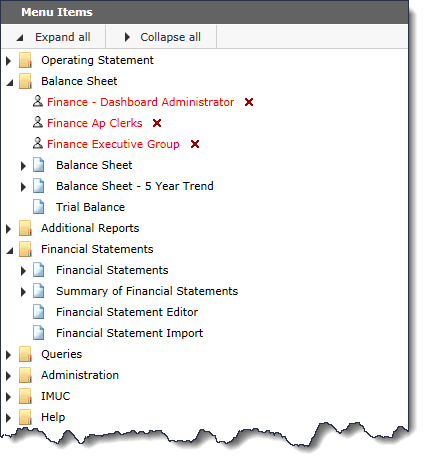
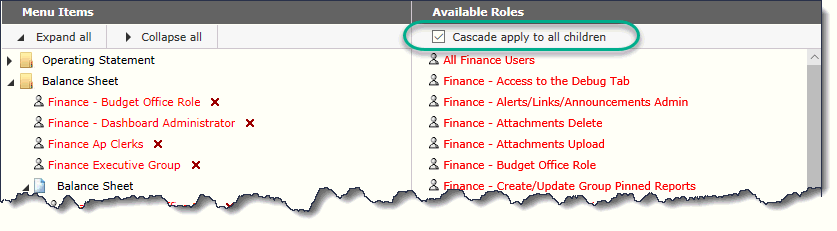
Expand a menu to view the roles that have previously been assigned to it. If a menu option cannot be expanded, no roles have been assigned yet (no + sign = no users can see it!)
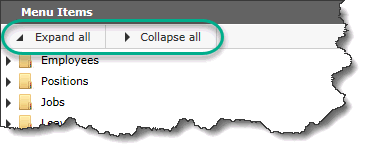
Use the Expand all or Collapse all options for easy navigation and review of the page:
Click and drag an Available Role and drop it on the menu node or menu option:
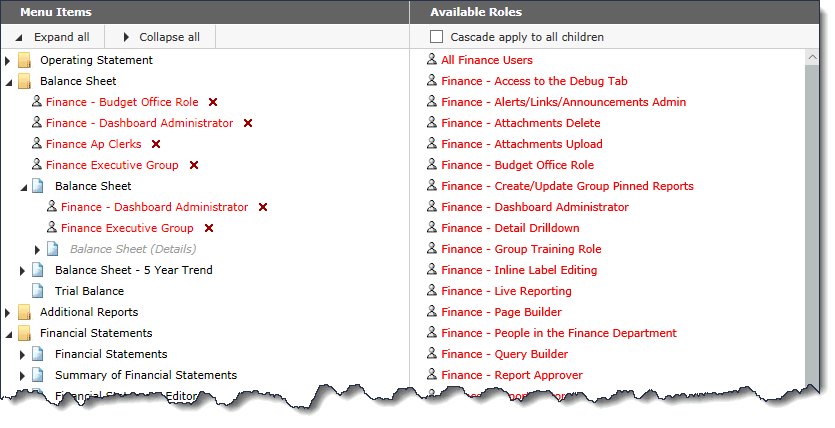

The settings are also designed to specify distinct levels of security: read-only or read/write. When assigning a security role to a menu item on the page, if that menu item (page) is a data entry grid style page, you will see a gray/italic child node called "Data Entry Mode" immediately below it.
If you wish to assign full read/write access to the page, you must assign the role by dragging and dropping it, to both the parent node (the report) and to the "Data entry mode" node which is in italics.
NOTE: If you drag the role directly to the "Data entry mode" node, it will automatically be assigned to any parent nodes that do not already have the role assigned. In other words, it will alleviate the need to drag & drop the role more than once for this Menu Item.
If, on the other hand, you want to assign read-only access to the page, just assign the role to the Menu Item node and not to the "Data entry mode" node. This will grant users of that role access to view the data entry page, but not make changes to the page. The Data Entry page will open to these users the same way, but the ability to add new entries will not display.
By adding a Role to a child node (report), it will automatically be added to the parent node (menu header).
To quickly apply access to an entire menu (all nodes), click the Cascade option before dragging and dropping the role to the Menu Item. This will cause the role to automatically be assigned to all children on the menu without the need to drag and drop each one. The Cascade check box will stay enabled until you choose to de-select it.
You can remove a role from a menu node by simply clicking the red
 next to
it. If you remove a role from the main menu (parent), it will
be removed from all menu nodes that are children of that main menu.
next to
it. If you remove a role from the main menu (parent), it will
be removed from all menu nodes that are children of that main menu.
If a menu node is displaying with a strikethrough format, it means this node is currently disabled (globally, using Menu Layout) for all users.
You can still edit the access to this disabled node, but please note that no end users will see it until you re-enable it globally: