Sending Direct 2-way SMS
From any page in FAST, end users have access to the direct 2-way SMS control provided they meet certain criteria. If one or more of these rules are met, the icon will display in the top right-hand corner on every page in any FAST application, next to the Notification centre.

Rules to enable the SMS button:
-
One or more Pools has been created in FAST
-
The end user has Role or Admin level access to one or more Pools in FAST
Please review the content on Pool Administration before moving on to generate and send messages via SMS.
If the button is visible, it means the end user meets one or more of the above criteria.
The Pools available to send "from" using this SMS pop-up are not restricted by Application (schema). In other words, even if I access the SMS pop-up within FAST Student Reporting, if I have access to a Pool in another Application, I will also see (and be able to use) those Pools.
To send a message via SMS:
Click on the SMS icon to open the pop-up; all current (in-progress) conversations (incoming and outgoing) will display on the left-hand panel. If there is not yet a conversation history, the left-panel will be empty.
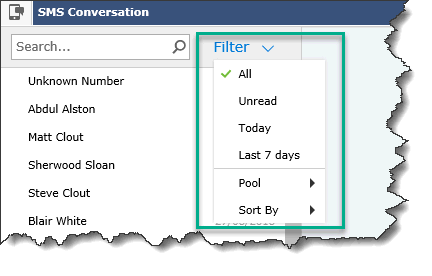
You can also use the Filter option to refine your results (optional):

You can now search for an employee or a student to start a conversation via SMS. If the conversation history is already on the list, you can also click directly on it to review the history and continue the conversation.
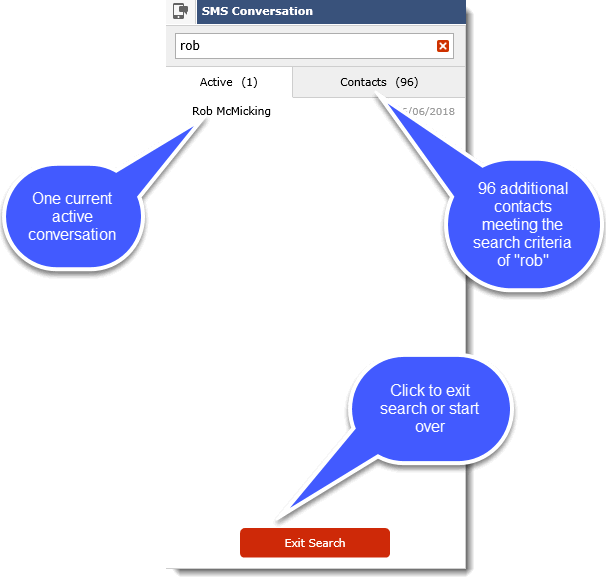
To use the Search option, you can use First Name or Last Name and the search is not case-sensitive.

To locate a contact from the main library, you can also hover over the name. This will pop-up the External ID (which is linked to the Student ID and/or the Employee ID) and will also let you know if this person is a student, an employee, or in some cases both.
This can be helpful to narrow down the correct person to select. In this case, there are 68 possible contacts with the name "bob".

Once you select the student or employee you wish to send an SMS message to, select, from the right-hand panel, which Pool you would like to send "from".
NOTE: Some end users may only have access to one Pool. In other cases, they will need to select from the available options, as shown:

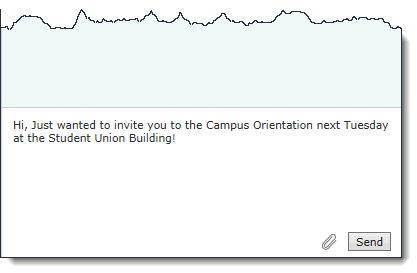
Once your "from" Pool is established, you're ready to type your first message. This is done in the text box, as shown:

Once your first SMS is sent to a student or employee from the Pool, an auto-generated message will automatically be appended and sent out instructing the recipient on how they can get help or unsubscribe (opt out) from further text messages.
The options are:
-
HELP: Get generic help on the messaging system;
-
STOP: Stop receiving communications via SMS from this list;
-
STOPALL: Stop receiving communications via SMS from all lists;
-
START (not listed): Resume receiving SMS from all lists after a STOP or STOPALL has been submitted; there is no "START" at the individual Pool level, a START means to unblock the institution as a whole.
Student and Employee Records
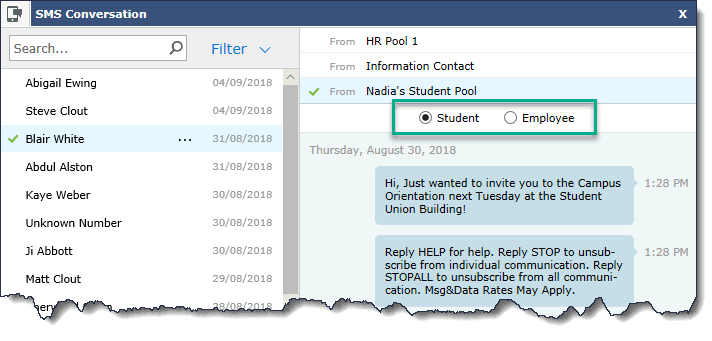
In some instances, a person record in your ERP may contain both an Employee and a Student and in more rare instances, there may be a different designated mobile phone number for each of those distinct record types (employee, student). Where the latter exists, a Student and Employee Radio Button toggle will be presented on the SMS Conversation panel, by Pool. Before starting or continuing a conversation, be sure to select which record type (Employee or Student) you wish to send the SMS to, as shown:

Administrative Note: Keep in mind that access to a Pool means access to any and all communications sent from that Pool. In other words, end users who are part of that Pool (either at the Role or Admin level) can see all text messages sent and received from the Pool, not only the messages that he/she sent. SMS and texting are not meant for the sending and receiving of confidential or sensitive information.
There are also several additional functions, referred to as Advanced SMS Options that are only available if the end user has "Admin Access" to the Pool. These functions are not available for end users with Role Access only.
