Sharing Communication Templates
Sharing communication templates when using email or SMS texting is limited to certain roles within all applications. All users are able to create, save, and send emails within FAST. Institutions that subscribe to our SMS services can typically send and receive texts after setting it up with our Customer Support team. In order to share a communication template, a user must have one of the following roles:
The "Create/Update Shared Communication Templates" role, and/or
Administrative-level access to the application via the Master Role, and/or
Site Administrator role assignment.
To Create a Shared Communication Template
If you meet one or more of the above conditions, you're ready to create and share communication templates with other groups or individuals on campus.
If you do not meet one or more of these conditions, you can still create and send emails or texts (assuming you have this service set up) but they will only ever be saved as "Private" which means you are the only person that can see, run, manage and delete those templates.
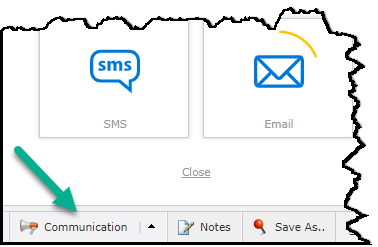
To start, run a report that will list students, faculty, staff, or others with whom you wish to communicate. Next, click on the Communication button in the bottom-right of the screen.
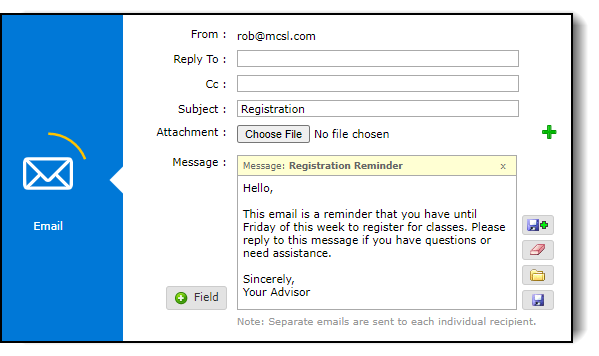
Create an email or SMS message. Fill out any of the available fields that you prefer including Reply To, Cc, Subject, and Message.

Once you have the email formatted
to your satisfaction, click the Save
As button  to open the Save
As dialogue box.
to open the Save
As dialogue box.
You will be prompted to provide a Title, Description, and to assign view and edit roles. When you are satisfied with your template information, click "Save."
Sharing Communication Templates
In order to share your templates, navigate to the Administration tab and click on Communication from the drop-down menu. Select Communication Templates.
A list of saved communication templates available to you will appear on the subsequent reporting page. If you would like to share one or more of the available templates, click on the Filter Options tab.
Further narrow your search so that only the reports you want to share appear in the report results including template name(s).
Once you have the report formatted to your satisfaction, click the Save As button to open the Save As dialogue box.
As with a standard or Private Pinned Report, you will be prompted to provide a Report Name (required) and a Report Description (optional).
You can also (optional) choose to select the Display on Export option if you would like the report description to be included when users export the data from FAST.
You can also (optional) select an Export File Name that differs from the Pinned Report Name.
You will also notice a Share this Report icon:

Open the Sharing Options to reveal the three types of Sharing that can be applied to this report:
Users in these groups can run this report: By assigning users to this option, the members of the group(s) assigned will be able to view and run the Pinned Report. It will be saved on the Pinned Reports Tab under the category of the Group(s). The only groups that will display in the drop-down are those that currently have Menu Access assigned to the report you're saving.
Users in these groups who are also in the "Create/Update Group Pinned Reports" role can run and maintain this report: If you assign a group the ability to run and maintain the Pinned Report and one or more users in that group have the role called “Create/Update Group Pinned Reports”, those users will also be able to maintain, modify and/or delete the Pinned Report as though they had created it. This is a great option when you're creating reports centrally but want the control and management of those reports to ultimately lie within a functional area or department rather than with the person who originally created it!
Users in these groups can run this report but won't be able to change any filters or options: This is a Read-Only assignment and provides very limited access that allows users to view the Pinned Report without being able to modify the base filter options, advanced options, change or add column filters, etc. They can see the report exactly as you've saved it, but that's it! Only the groups that do not have Menu Access to the report will appear in the Read Only sharing list. Here’s an important thing to consider about "read only" access: if a user is a member of a group that is set up as read only, but is also a member of another group which has normal menu access defined, the Pinned Report will not be read only for that user. Since the user has access to the base report through normal menu access they could just navigate directly to it and run it with whatever criteria they want, therefore the report will not appear as read only in this situation.
To review a list of the users in each group you've selected, click the View Users button to the right of the drop-down list.
Once you've made your selection, click Save to complete.
Once you have shared the Report with one or more Individuals or Groups, they are ready to run and retrieve by the members of those groups on the Pinned Report Tab within the application and/or on the main menu of the reporting page where it was Pinned.
A few key notes to remember
You cannot save the Communications Templates Report to a Group if:
There are any Private Virtual Columns on the Report
The current report uses any Private Dynamic Selections
If this is the case, the Sharing Options will be greyed out and the following message will be clearly displayed:
If in doubt, be sure to schedule some training to see these features in action!