Creating a reporting page
If you can't find the report you want in a FAST application, you can create your own reporting page based on a SQL query. Using the fields in the query, you can select the filter options and columns you want to use in the report. Creating the page is a straightforward process using the wizard. In Number 2 (below) the instructions have been broken into sections and correspond with each step in the wizard.
Required roles:
You must have a specific role to create a reporting page. The role is created by your institution—if you are not sure if you have been granted the role, check with the administrator for the FAST application.
To create a reporting page:
On the Reporting Pages menu, click Create Reporting Page.
 |
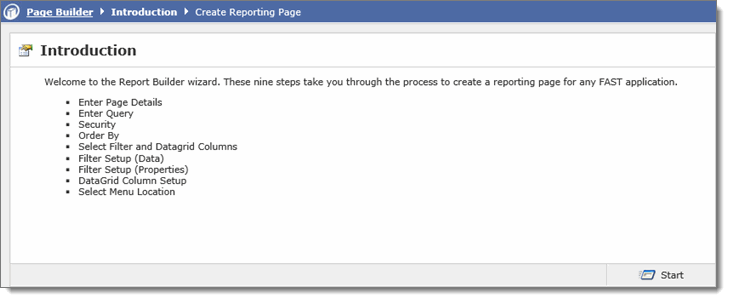
If you are opening the Page Builder from within the FAST Builder application, the Page Builder Wizard Introduction page opens with the list of steps you must follow to create your reporting page. If you are opening the page builder from within a FAST application, the Enter Page Details view will open directly. You will not have to select your application (or schema) as it will default to the application that you are using. |

Click Start. These are the steps in the wizard, with detailed instructions.
|
